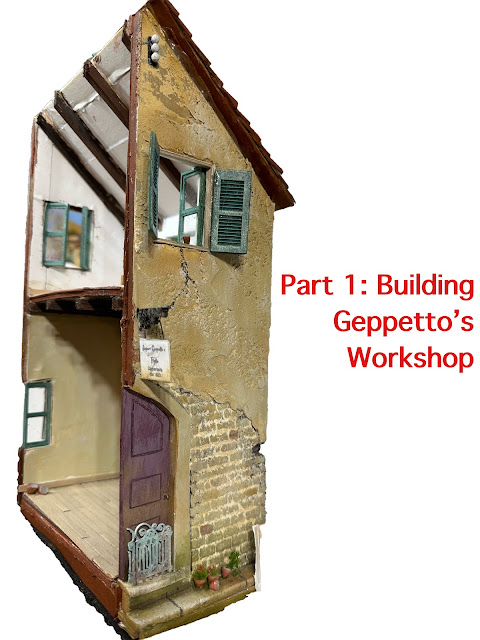
Workshop Building
Making STL files from Line Art
The building project included balcony railings, windows, flower pots, wine bottles, electric service detail and a "goat door gate" (during the modeled period some Italian villages allowed goats to be herded through the town. Villagers would install gates to prevent goats from entering their homes while they had the doors open to let in cool air in). A quick way to add railings was to have them 3D printed but where do you get the designs to print? What I did was searched on the internet for line drawings of Victorian railing designs. Then I downloaded the drawing into a photo editing software (nothing fancy) and increased the contrast of the drawing to drop out any background shading. Then I saved the edited drawing as a jpeg file. Next I went to Any Conv at JPG to STL Converter Online - AnyConv to convert the line drawing to an STL file. It is a simple matter of going to website (no need to sign up for anything), uploading the jpeg file and press convert. Once the conversion occurs (it is a matter of seconds), you can download the file to your hard drive. From there you can upload it to tinkercad or a similar software to manipulate the size of the file and then export it to your slicer to prepare the file for printing on your 3D printer.
My stl files for this project
- Power pole insulators, french doors and clothing hangers bracket can be found here: 1/24 scale telephone pole insulators by Travelinginminiature - Thingiverse
- Hanging sign bracket can be found here: https://www.thingiverse.com/thing:6252757


Comments
Post a Comment